There are two steps to install a WordPress Content Management System (CMS).
1. Quick Install at Hostgator Cpanel
It is not necessary to manually install WordPress as it can be quickly installed via QuickInstall, however, if you are having trouble with this method, this article will cover the steps needed to install WordPress manually.
2. Manually Install
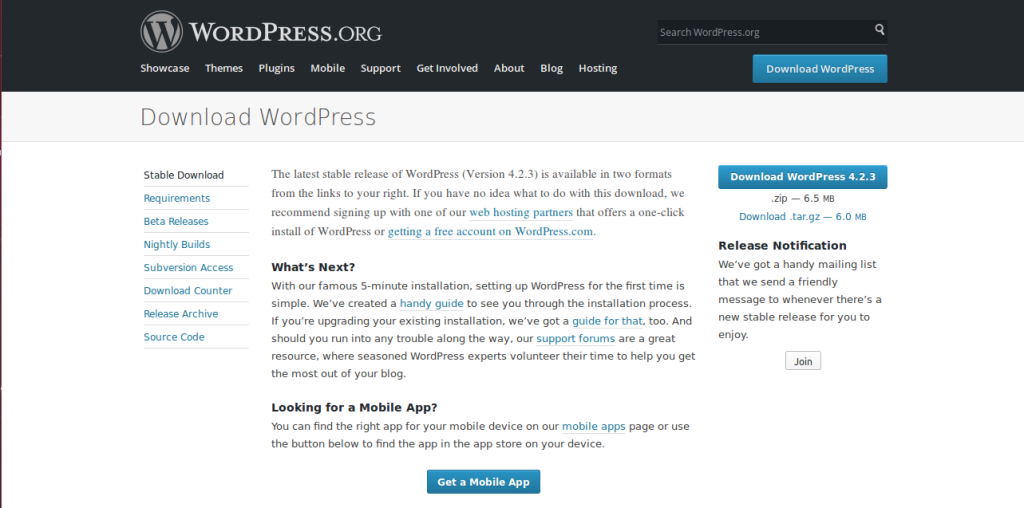
Step 1: Download WordPress
Download the WordPress package to your local computer from http://wordpress.org/download/
Unzip the downloaded file to a folder on your local computer.

Step 2: Upload WordPress to Hosting Account
There are three available options for uploading WordPress to a hosting account.
Upload via FTP – Please see FTP Getting Started for more information.
Upload via File Manager – Please see How to Upload Using the File Manager for instructions.
Upload via SSH – Please see How to Get and Use SSH Access for instructions.
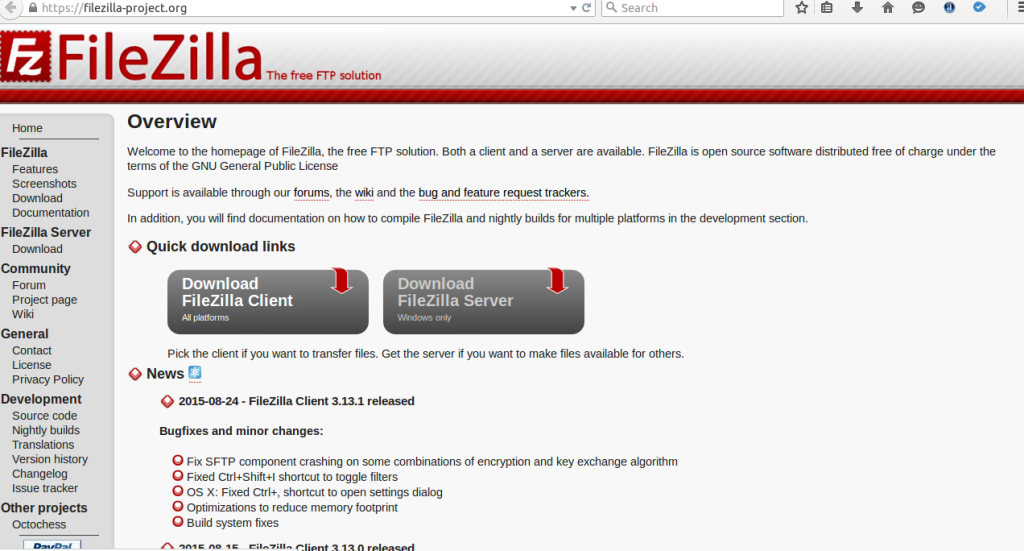
I recommend to use Filezilla to upload wordpress via FTP program .
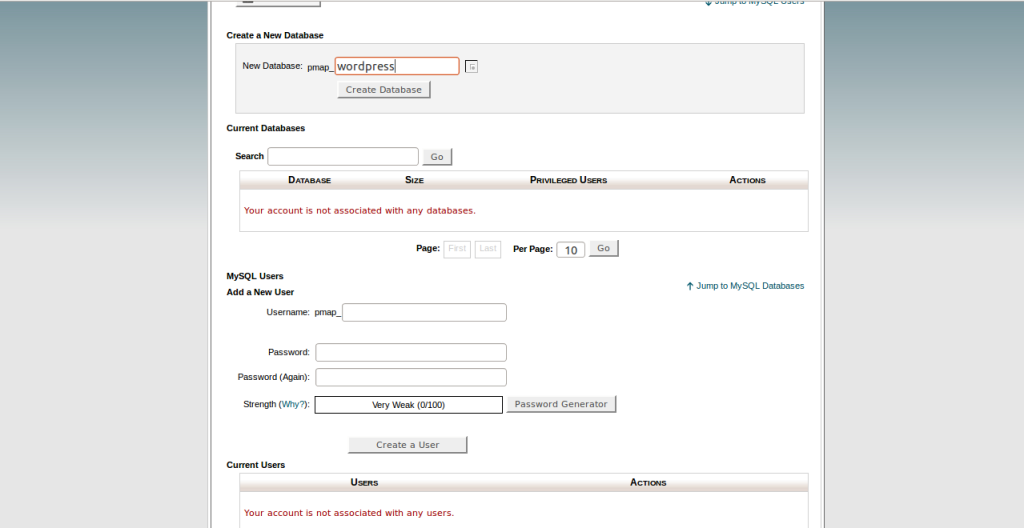
Step 3: Create MySQL Database and User
WordPress stores its information in a database. Therefore, a database will need to be created.
Log into cPanel.
In the Databases section, click the MySQL Database Wizard icon.
For Step 1: Create A Database, enter the database name and click Next Step.
For Step 2: Create Database Users, enter the database user name and password and click Create User.
For Step 3: Add User to the Database, click the All Privileges checkbox and click Next Step.
For Step 4: Complete the task, make note of the database name, username and password, as you will need them for Step 4.


It’s really a ǥreat and usefսl piece οf info.
I аm happy that youu shared this սseful іnformation with սs.
Ƥlease stay սs up to Date like this. Thanks for sharing.
If you have only one database and it is already in use, you can install WordPress in it – just make sure to have a distinctive prefix for your tables to avoid over-writing any existing database tables.
Hello! Cool post, amazing!!!
Yes this method also used for transferring WordPress files to another domain or server.
Thank you very much.